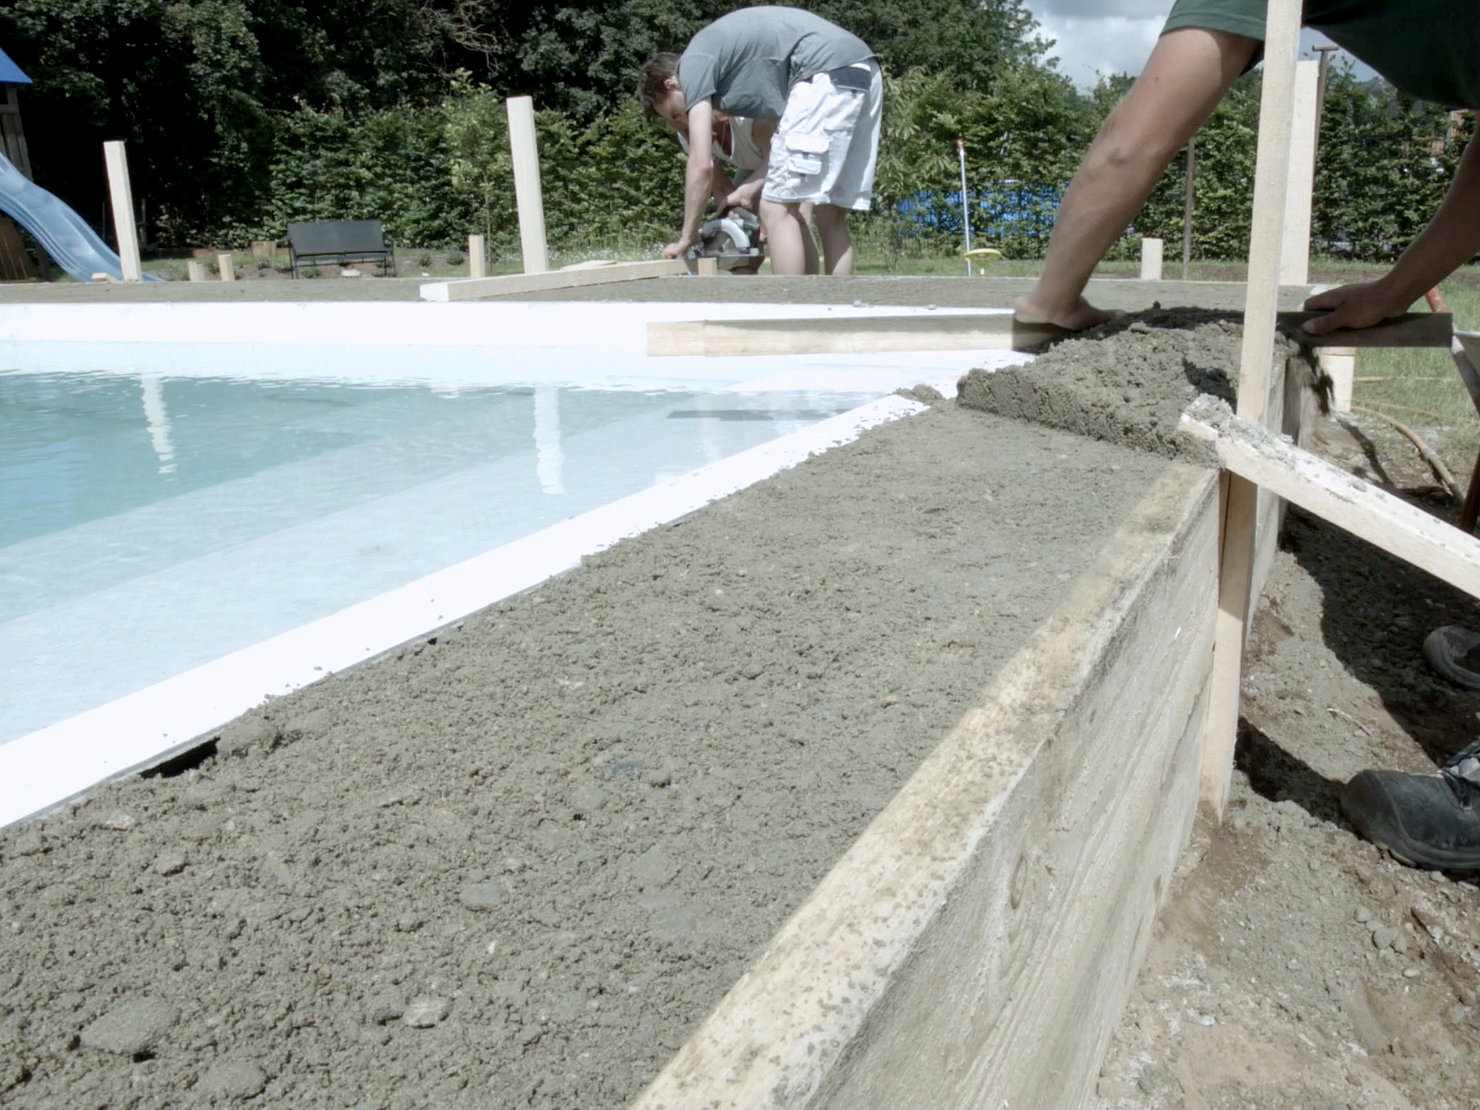
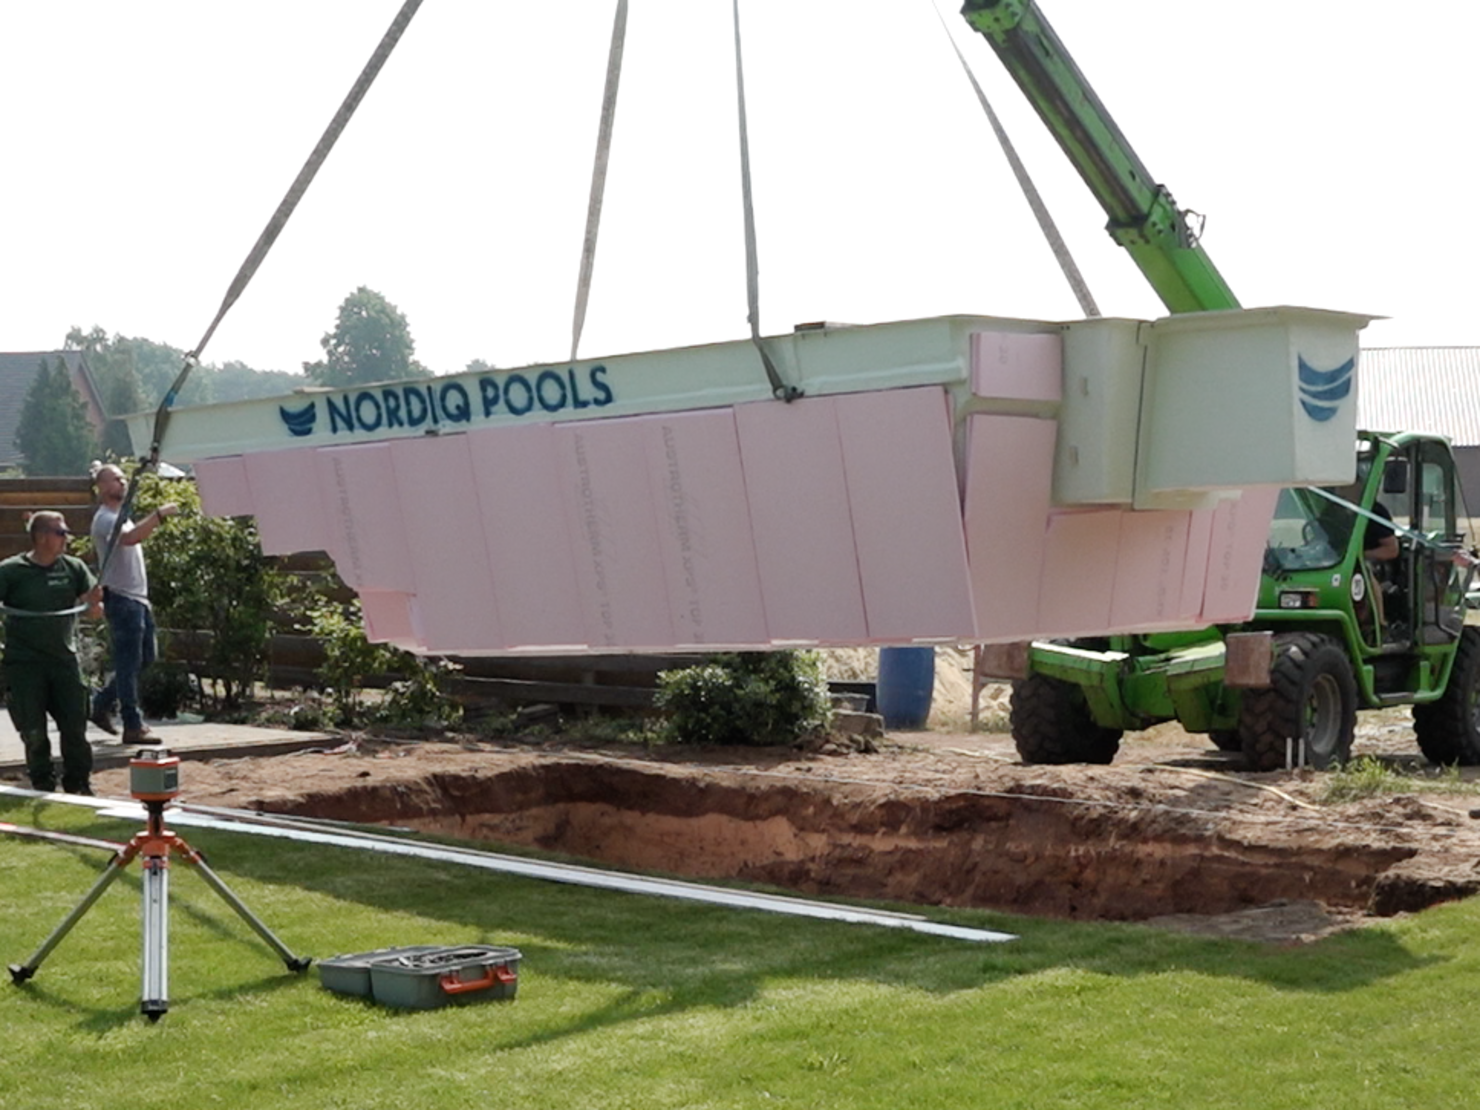
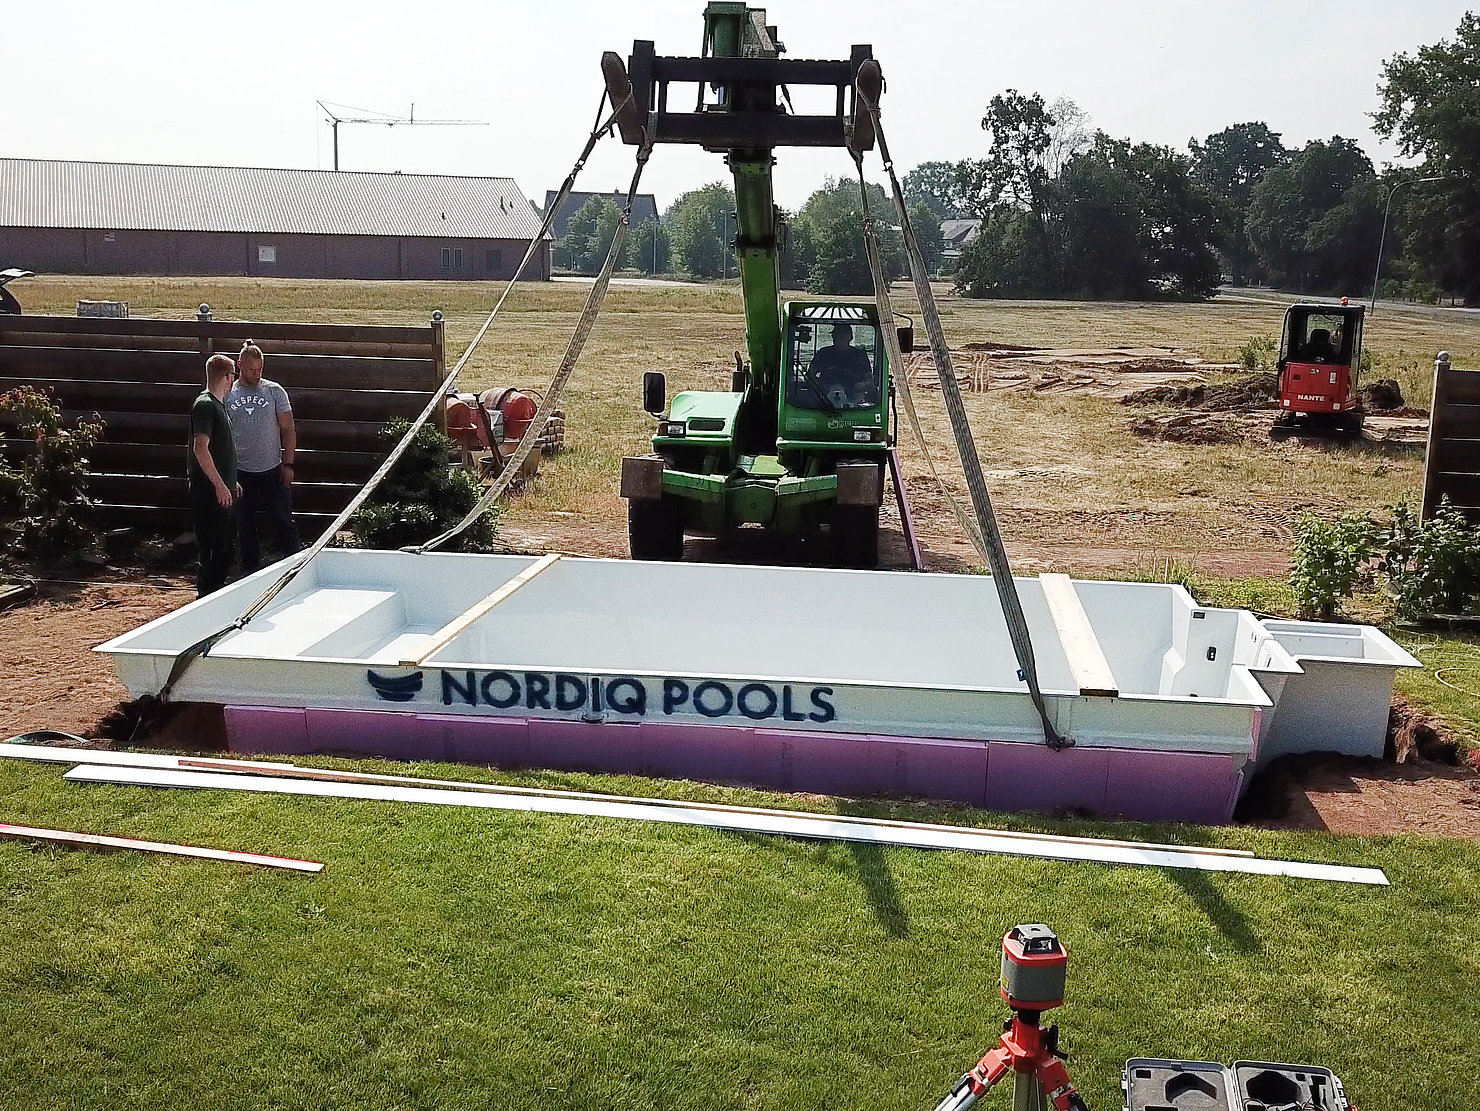
The enormous advantage during installation compared to classic prefabricated pools lies in the fact that there are no pipes to be installed. This reduces errors, risk, and time during the pool installation. The easy-to-install technology makes high-quality pool construction possible in 2-3 days.

Step 1 - Day 1

The excavation

For the excavation, take the external dimensions of the pool and add 25cm on each side. The pit itself can be sloped up to 10 degrees. This corresponds to the slope of the pool wall.

Step 2 - Day 1

The bottom plate

The bottom plate is installed in the external dimension of the pool, so that it can later support the pool. In this step, the installation height of the finished pool is determined. The bottom plate must be smooth and leveled.

Step 3 - Day 2

On-site insulation

For additional insulation, XPS panels can be placed on the bottom plate and fixed to each other with tape. These can also be taped to the outside of the pool. To do so, use 2cm XPS sheets for the spaces between the wall bracing and 4cm XPS sheets that are placed on top. This way you have a partial wall insulation of 6cm.

Step 4 - Day 2

Insertion of the pool

Using a mobile crane, telescopic loader or something similar, the pool can be placed on the base plate. It is then aligned horizontally and vertically so that it is positioned exactly as planned.

Step 5 - Day 2

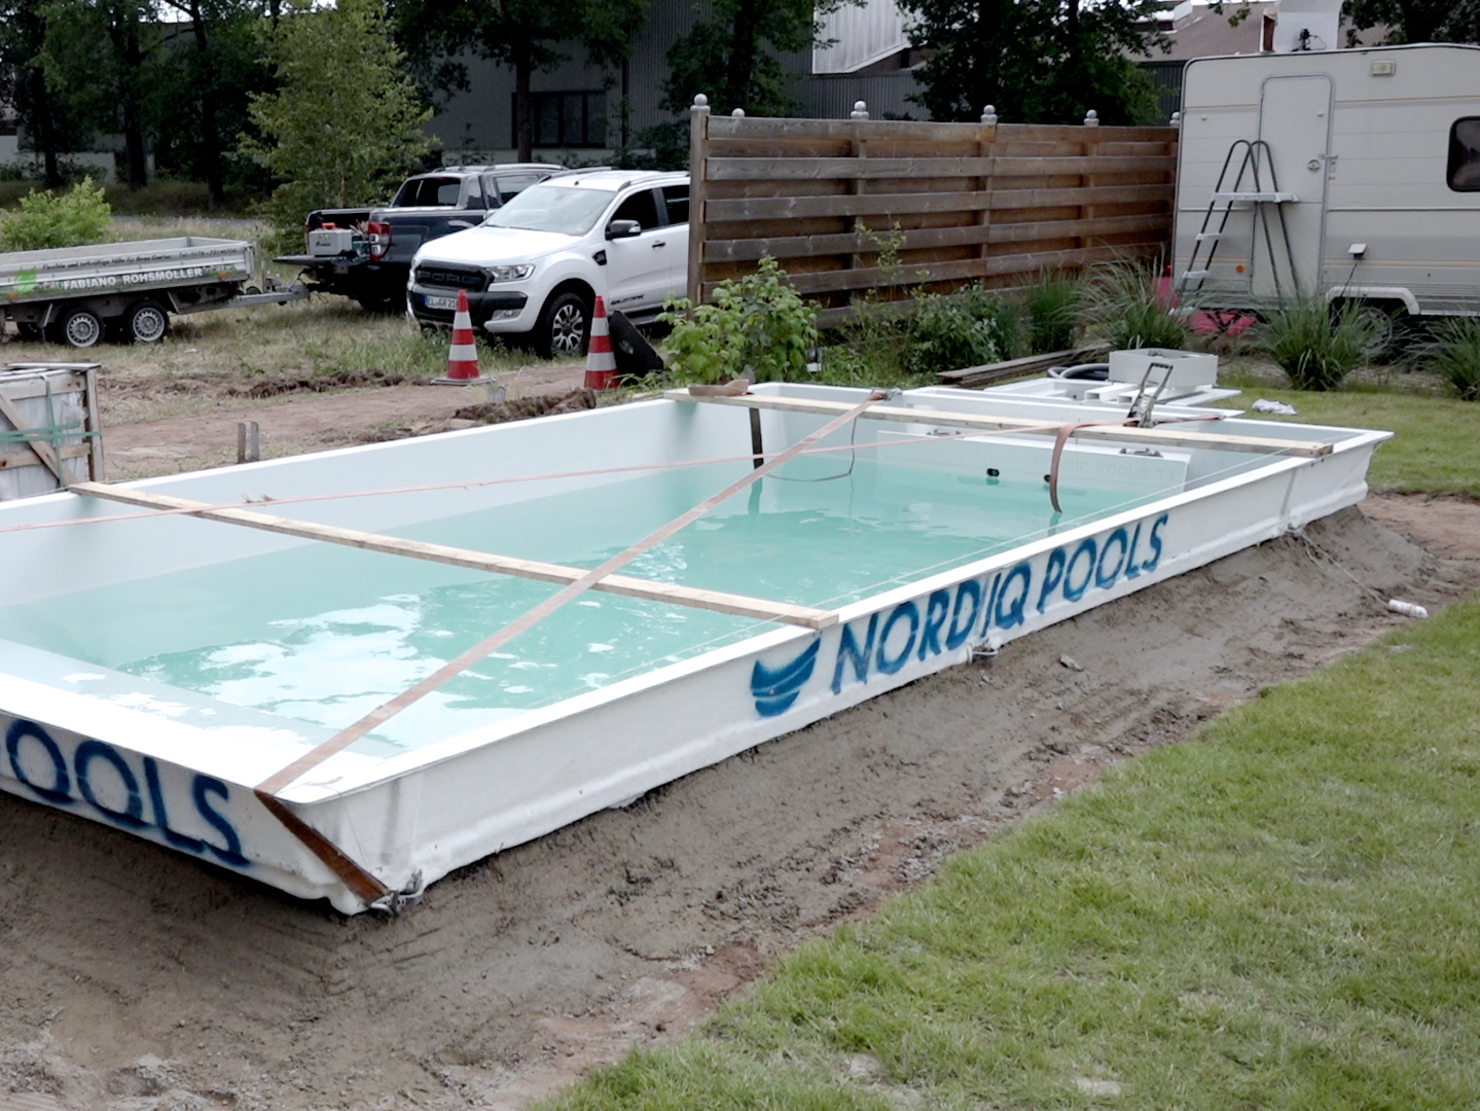
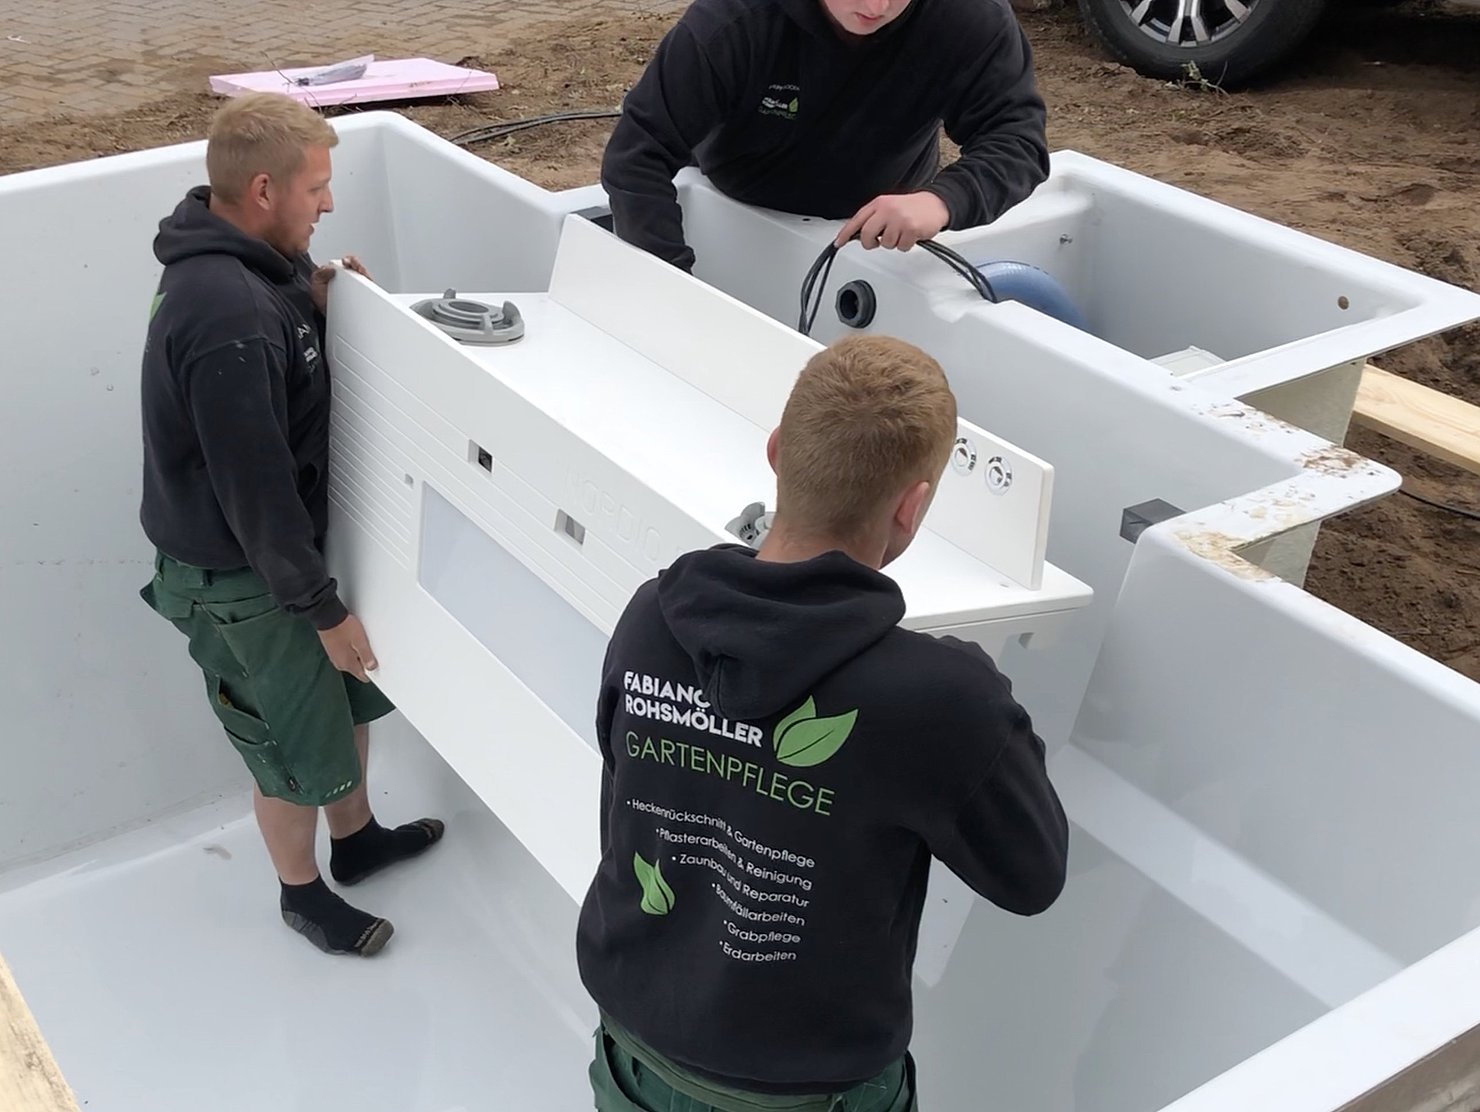
Installing the NordiQ TT

After you have screwed the shaft to the pool, hang the electronics board in it. Now hang the NORDIQ TT into the pool. The cables and push-button hoses of the already connected units are laid through the feed-through. Finally, the technology is connected by an electrician and directly put into operation.

Step 6 - Day 2

Backfilling

This can be done with lean concrete or insulating concrete. Backfilling is done simultaneously with the rising water level in the pool. Simply stretch a cord from one inner edge of the pool to the other so that the wall can be installed without tension.

Step 7 - Day 2

Upper peripheral anchorage

The upper peripheral anchorage is provided with reinforcing steel to withstand the water pressure. Drawn flush with the edge of the pool, the edge plates can be plated on the edge area after the concrete dries.

Step 8 - Day 2/3

Plating / Wooden deck

The last step is to glue or mount the edge panels or the wooden deck. For the thickness of the panels, we recommend 3 cm with a visible edge, as this will be visible around the pool afterward.